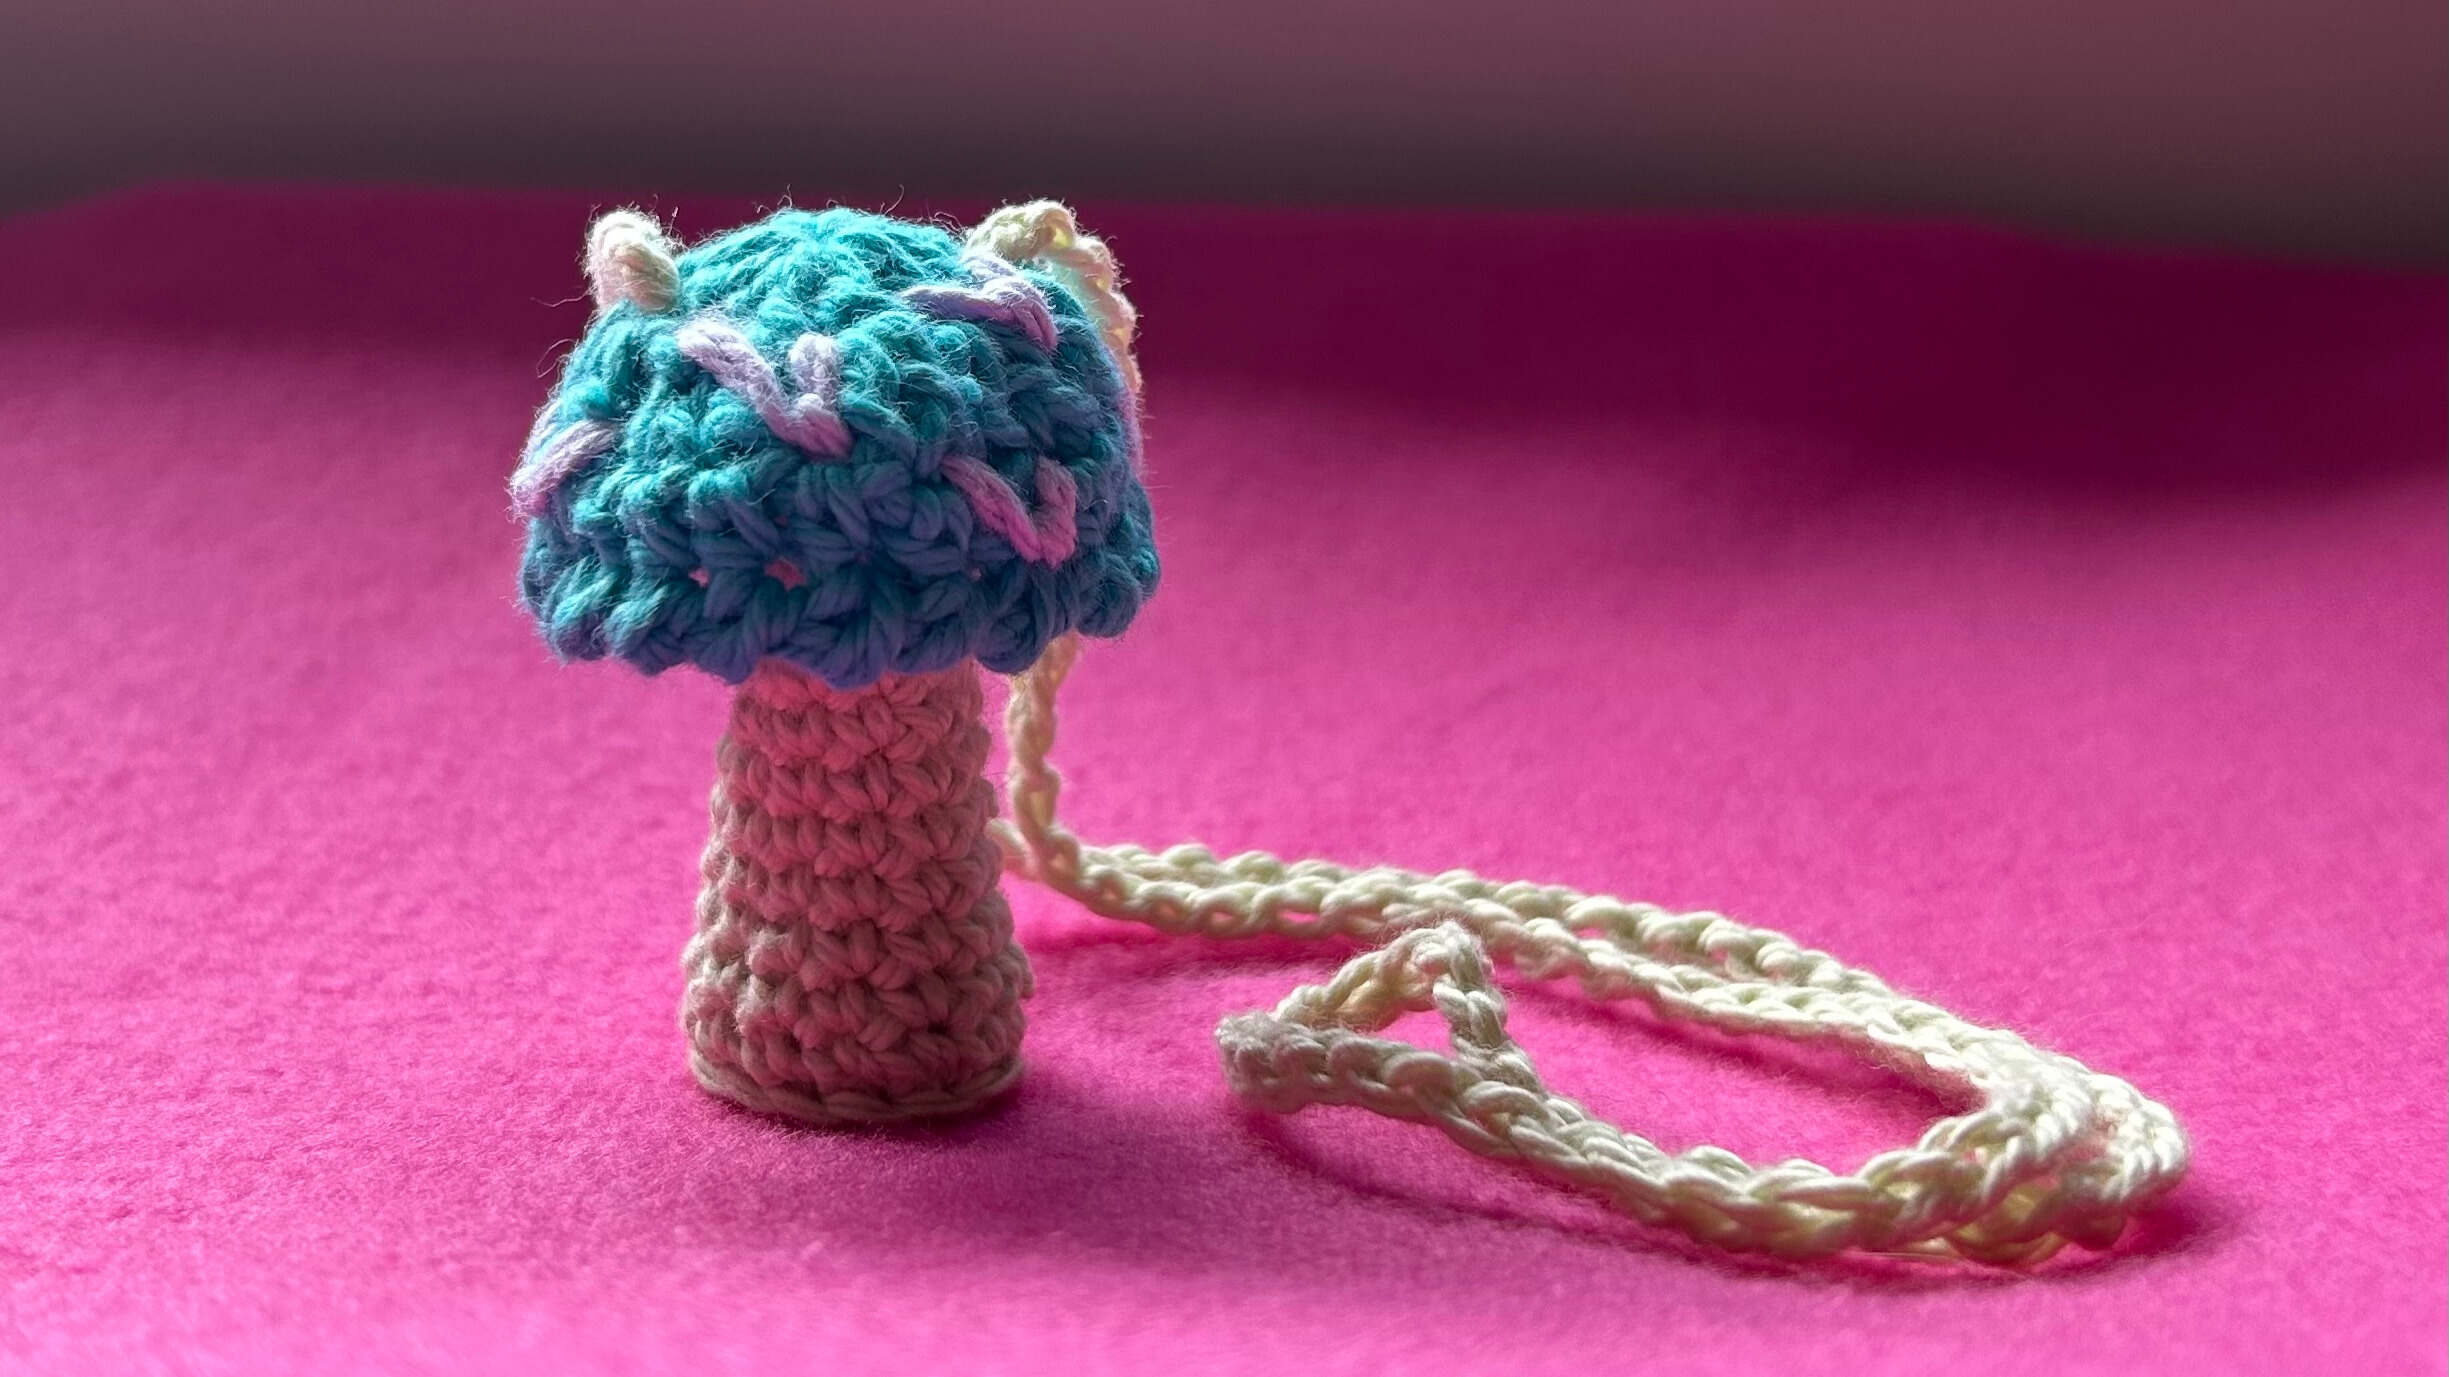
This free crochet pattern is for a whimsical mushroom-shaped pendant that can hide a few treasures in its stem. It’s quick to make, great scrap project for a small gift, and beginner-friendly with a few simple techniques.
This is my adaptation of a free crochet pattern I used to use, which has since disappeared from the internet. I’m sharing it here in case anyone else misses it too. I still have the first mushroom pouch I made; I keep my quarters in it and on laundry day I sling it around my neck while I’m hauling my clothes down the hall to the coin-op machines. It’s a good size for a lighter, keys, cash, or a small vape.

Materials
- Worsted weight cotton yarn
- I used Willow Yarns Meadow 100% cotton in “Succulent” for the stem and “Tidepool” for the cap; the emboidery is done in “Thistle.”
- I had these colors on hand because this yarn was on sale at a factory outlet once back in 2023 and I had bought one in every color because it was cheap and pretty. It’s a weakness. Anyway, look at me using them up now, yay.
- I’ll be honest though, it’s really nice yarn and pretty cheap. I’d buy it again.
- I used crochet hook size 3.5 mm (E/4) for my example because I have amigurumi brain, and my pouch turned out quite dainty. If you want a more roomy pouch, start with a 4 mm hook.
- Yarn needle for weaving in ends
- Scissors
Why cotton? It isn’t stretchy like acrylic is, which is an important consideration in items like bags and straps. But for something as small as this, it’s really not crucial. If you use acrylic, choose a less stretchy one like Caron Simply Soft or Lion Brand Skein Tones, or crochet with a tighter gauge. This is a great project for scraps.
Gauge & Finished Size
- Gauge isn’t critical, but your stitch tension and hook size will affect how big your mushroom pouch will turn out.
- My finished pouch is about 2.5 inches / 7 cm long (with the cap on).
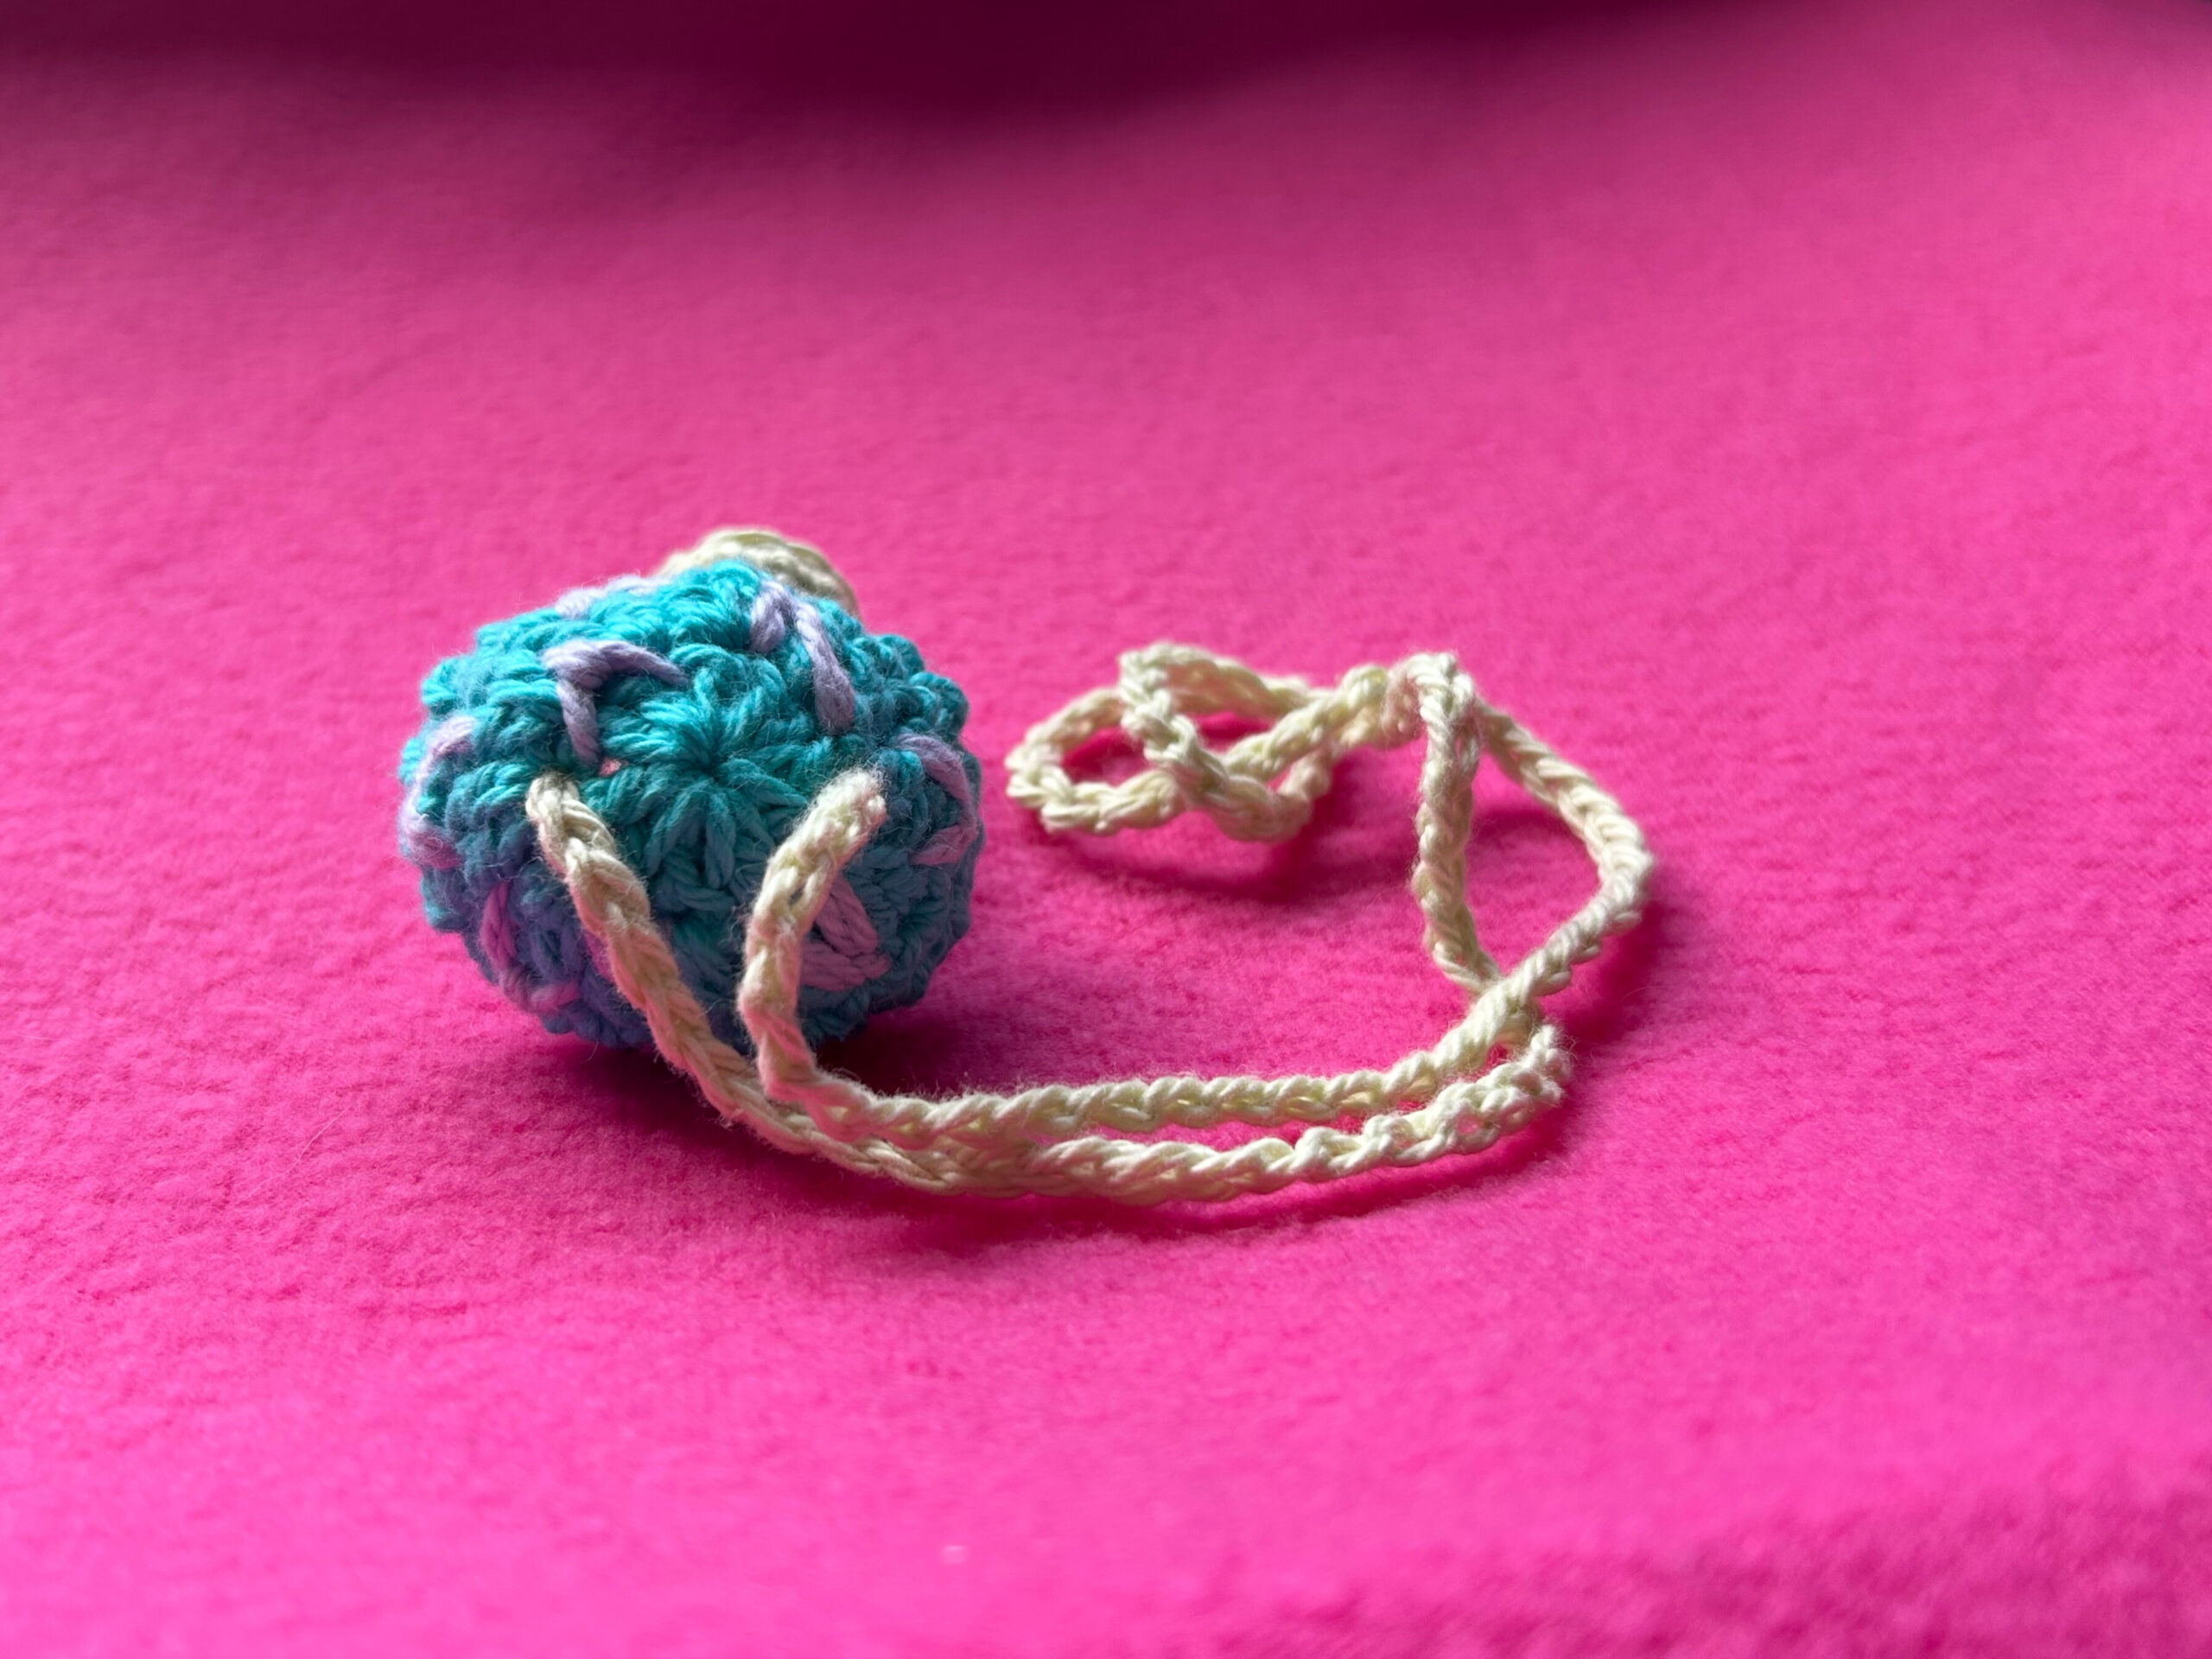
- My strap is about 24 inches / 60 cm, made with 100 chains
Stitches Used (US Terms)
- Magic Ring (MR)
- Chain (CH)
- Half Double Crochet (HDC)
- Double Crochet (DC)
- Single Crochet (SC)
- Reverse SC (aka Crab Stitch)
- Slip Stitch (SL ST)
Instructions
Mushroom Cap (Make this first!)
Round 1: MR, CH 2, 10 DC into the ring. SL ST into the first DC (not into the chain). CH 2 (10 DC total)
Round 2: 2 DC in each stitch around. SL ST into first DC, CH 1. (20 DC total)
Round 3: 1 HDC in each stitch. SL ST into first HDC, CH 1. (20 HDC total)
Round 4: Work 20 Reverse SC (Crab Stitch) around. I think Crab Stitch gives a nice elegant finish to your mushroom cap. Alternatively, you can do SC around or HDC instead for a slightly longer cap.
Edie Eckman has a clear step-by-step explanation with photos and video.
Fasten off and weave in ends
Optional Embellishments for Cap
- Embroider a face or details on the cap (I just embroidered some Vs on mine)
- Crochet spots: using contrasting yarn, 6 SC in a MR, fasten off, then sew or glue them on
- Use felt, beads, or buttons for decoration
Mushroom Stem
Round 1: MR, CH 1, 6 HDC into the ring. SL ST into first HDC, CH 1. (6 HDC total)
Round 2: 2 HDC in each stitch around. SL ST into first HDC, CH 1. (12 HDC total)
Round 3: 12 SC into the third loop of each HDC around.
If you’re not familiar with this technique, you can crochet 12 SCs the standard way instead—but it’s a useful trick to learn, and it gives the stem a nicely structured base. Give it a try!
SL ST into first SC, CH 1. (12 SC total)
This tutorial from Crochetcetera explains it clearly.
Rounds 4–?: 1 SC in each stitch around. SL ST to first SC, CH 1 at end of each round. (12 SC total)
→ Continue until stem is your desired length (I did 14 rounds in my photo example, 12-15 seems about right.)
🪢 Strap and Assembly
- After finishing the last round of the stem, SL ST to first SC
- CH 100 (or however long you want the strap to be)
- Thread the end of the strap:
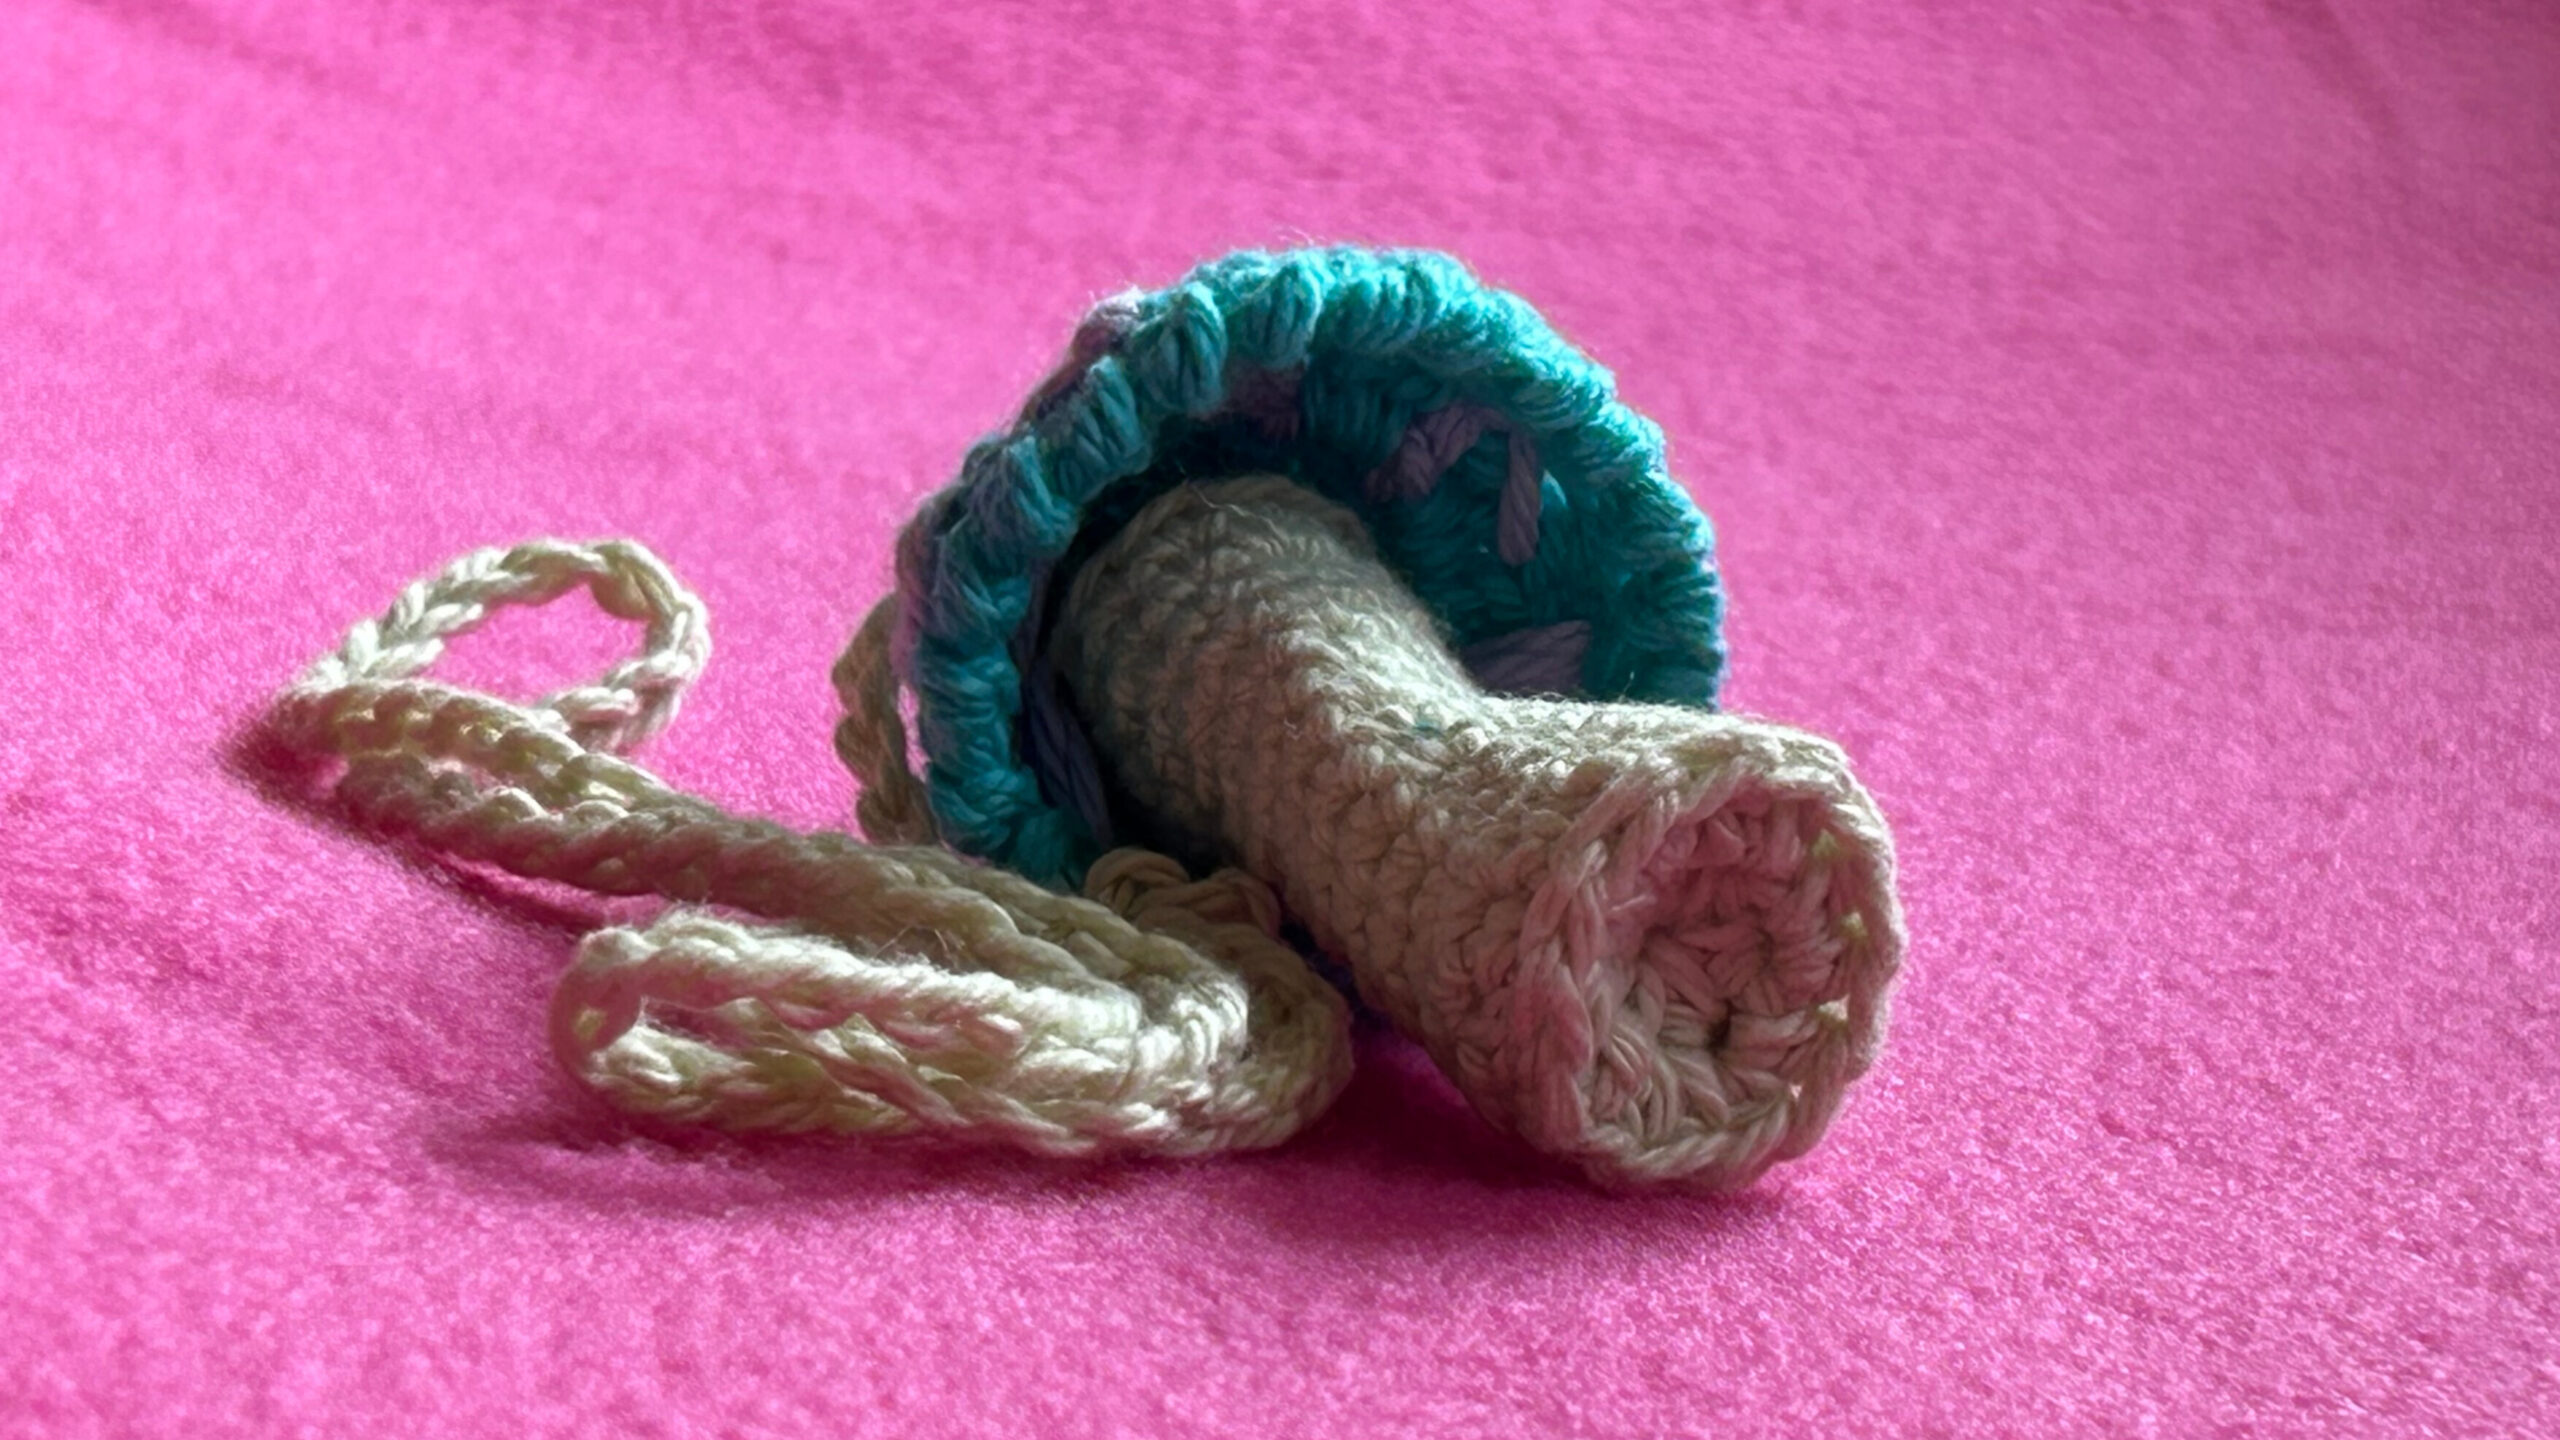
- Up through one side of the cap between Rounds 1 and 2 (see photo)
- Back down through the other side between Rounds 1 and 2
- Make sure your chain isn’t twisted and attach the end to the opposite side of the stem with a SL ST
- Fasten off and weave in ends
- The cap should slide freely up and down the chain.
fastsuzy@pm.me